OtoAccess Help Center

Explore our documentation for guides and technical help.

This post doesn't exist or you're not authorized to access it without signing in

Create account Sign in

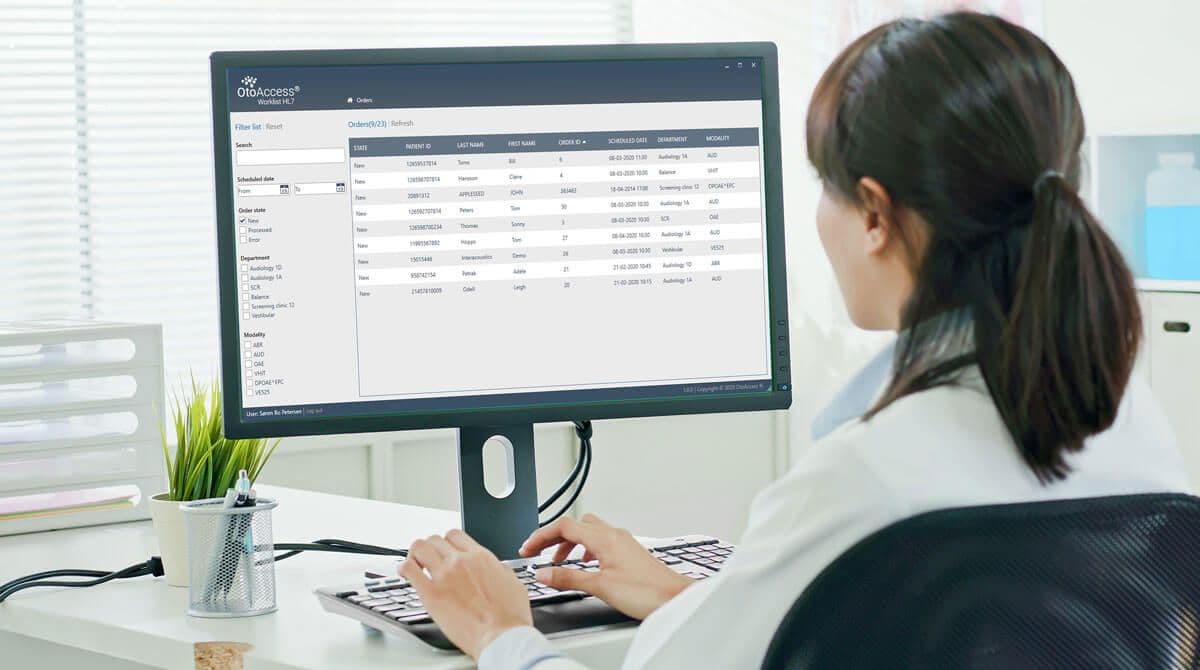
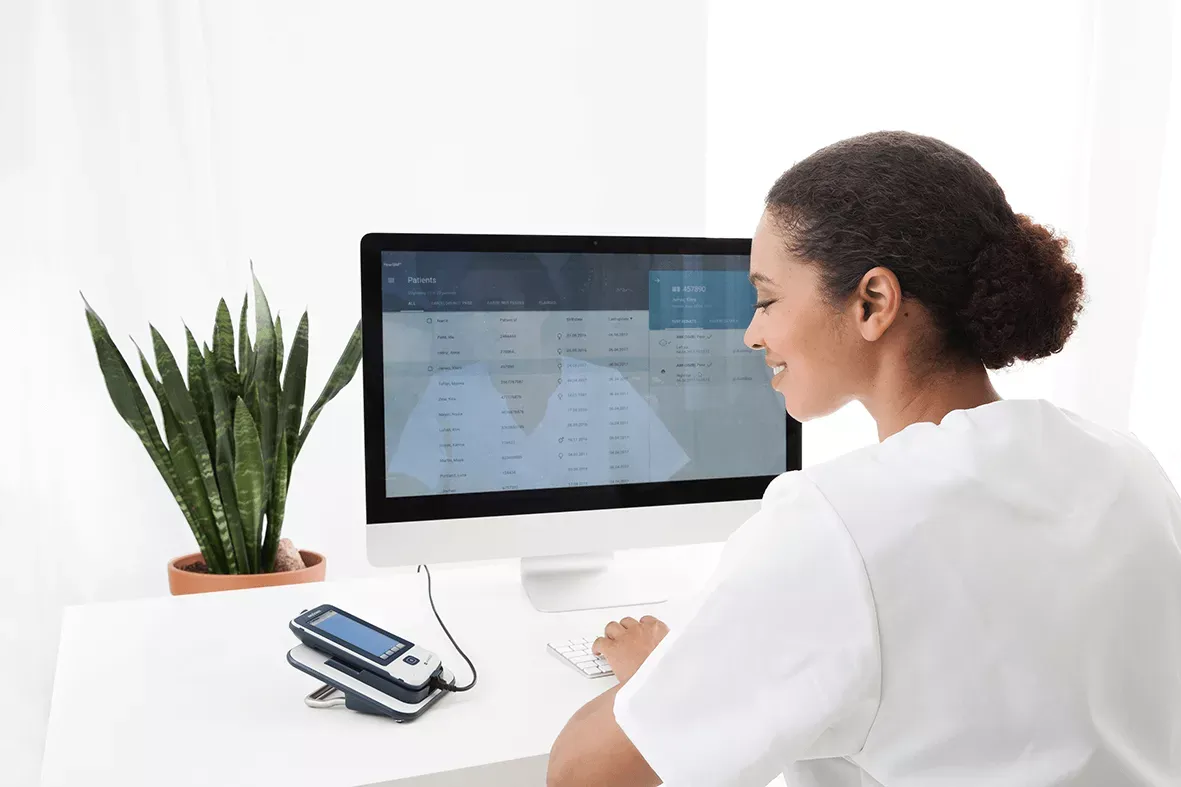
An Introduction to OtoAccess® Database
In this short introduction, Senior Product Manager for OtoAccess, Søren Bo Petersen, introduces OtoAccess® Database.
How to install and set up OtoAccess® Database
 
In this video we will explain step-by-step how you install and set up the OtoAccess® Database.

Senior Integration Manager, Søren Bo Petersen, shows you how to install and set up the new OtoAccess® Database.

How to Activate OtoAccess® Database License Offline
 
Learn how to do a step-by-step activation of the OtoAccess® Database if your computer doesn’t have connection to the Internet.

Senior Integration Manager, Søren Bo Petersen, shows you how to activate the new OtoAccess® Database on computers that are NOT connected to the internet.

Tip: Learn how to use the admin tool.

How to use the OtoAccesss® Admin Tool
 
Learn how to use the admin tool, that can be downloaded together with OtoAccess® Database.
 

Senior Integration Manager, Søren Bo Petersen, introduces the admin tool, that can be downloaded together with OtoAccess® Database.

Tip: Learn how to import historical data into OtoAccess® Database.

How to import historical data in OtoAccess® Database.

In this video you will learn how to import historical data into OtoAccess® Database.

Senior Integration Manager, Søren Bo Petersen, explains how to import historical data into OtoAccess® Database.
How to use OtoAccess® Worklist HL7
In this video Senior Product Manager for OtoAccess® Søren Bo Petersen demonstrates the basic workflow when using OtoAccess® Worklist HL7.
How to create/delete/edit patient
In the OtoAccess® Database administration tool you can set up what fields you want to make available, set as mandatory or even set up custom fields.

Create Patient

Screenshot of creating patient panel in Otoaccess Database

  1. Choose patient view.
  2. Click the create patient icon Create patient icon.
  3. Fill out patient information, note that fields marked with an arrow are mandatory. The unmarked fields and the remark field are optional.
    Date can be filled out manually or by clicking the calendar button calendar icon.
    By clicking the plus icon plus icon you can add a photo to the profile.

    Screenshot of patient info panel in Otoaccess Database

  4. When done press the save button save icon.
  5. The patient has now been created.


Available patient fields

In the OtoAccess® Database administration tool you can set up what fields you want to make available, set as mandatory or even set up custom fields.


Delete/edit patient

Simply select the patient and choose delete delete patient icon or edit edit patient icon in the patient view.

When you choose delete you are prompted before deletion.

Screenshot of editing and deleting patient panel in Otoaccess Database

How to perform tests on patients in OtoAccess
Learn the steps needed to perform tests on patients and save the session in OtoAccess® Database.

Disclaimer, all patient data is randomly generated for demonstration purposes.

Overview

documentation_patient_test_view

Prerequisites


Perform tests

  1. Choose patient in the patient list.
    1. If there are existing sessions on the patient, these will be visible in the Session list.
    2. Choosing sessions will show session preview if available and you can open the test report if available.
    3. Double-clicking the session will open the session in the equipment software.
  2. Click on the software tool that you want to use in the Toolbar. Perform tests on the selected patient.
    When you save a session it will automatically be saved to OtoAccess® Database.
How to clear your OtoAccess® Database by restoring a blank database
If there is a need to clear the OtoAccess® Database or certain patient data after installation, please follow this guide.

Backup:

When finished with the OtoAccess® installation, it is recommended to do a backup of the OtoAccess® Database. Please use this backup as your starting point if patient information needs to be cleared.

Start up OtoAccess® Administrator.

otoacces-backup-guide1

Go to the Database
Select Backup & Scheduling

Select Backup Location if it should be placed elsewhere than standard.
Run Backup

Go to the Location and copy the file, which will be named something like this ‘atlas_20230313102305’. Place the file in another place, e.g., a USB drive or external drive.

Restore (Clean patients from OtoAccess® Database):

If you need to clear all patients, the backup of the database can be used by restoring the backup. This will delete current data and the OtoAccess® Database will be clear as it was from the beginning. If you select a backup, the database will be restored with the data from the selected backup.

otoacces-backup-guide2

*Please be aware that all data will be deleted when doing the restore. The only option to get the data back is to restore the last backup that runs against the OtoAccess® Database.

Export patient and tests to Noah
Learn the steps needed to export patient and tests to Noah.

Export patient and tests to Noah

Before you can use this functionality, please visit otoaccess.com and add the export to Noah feature to your OtoAccess Database product key.

Select patient and press the Noah export button

noah1

Log into Noah when prompted and press “Grant” when prompted

Log in is not required every time. Noah requires periodic log in with intervals up to 4 hours.

noah2_1noah2_2

Export patient to Noah

By default, the software will suggest “Create new patient” if it cannot match the patient from OtoAccess Database to an existing patient in Noah.

If it can match, it will suggest targeting an existing patient.

You can also force export tests to an existing patient in Noah by searching for the patient you want to add the tests to.

 noah3

Optional, select which tests to export to Noah

You can only export Noah compatible tests. If you have not selected any tests, the software will export all relevant tests to Noah.

Press “Back” when you’ve made your selection.

 noah4

Press Create to start export to Noah

Patient will be created in Noah and selected tests will be exported.

 noah5

Patient and selected test are now ready for hearing aid fitting in Noah

noah6